
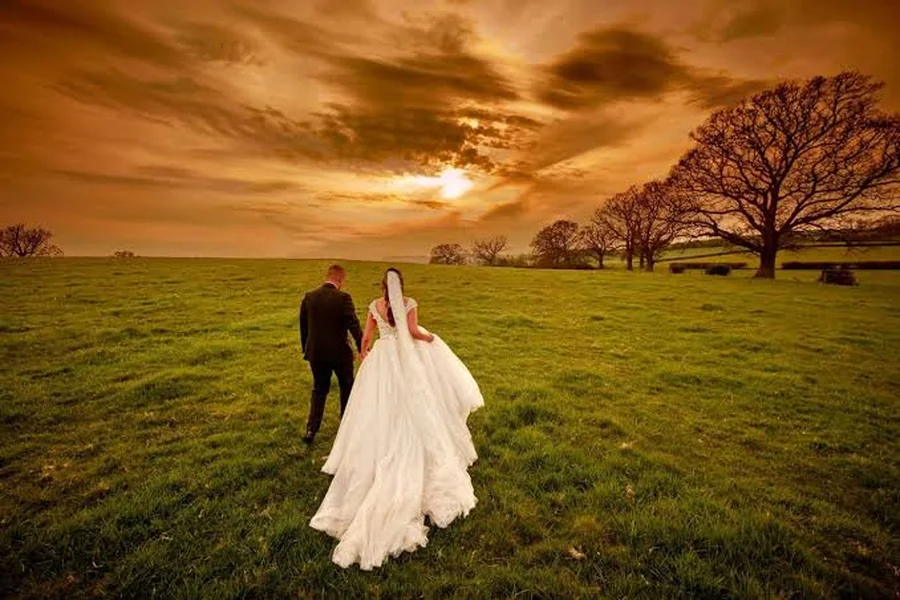
A great photograph deserves to be seen. But even the most iconic moment can appear dull or flat on screen, smudge, or get lost in the crowd. With some editing, your photograph can get closer to what it was when it was created.
The best way to edit photos does not necessarily include complicated effects or dramatic changes. Mastering a few simple post-processing techniques is enough to maintain the visual balance and emphasize details. In this article, we provide beginner-friendly image-enhancing techniques to help your pictures stand out while preserving their original appeal.
1. Filters for the Mood
A single filter can alter the atmosphere of a photo and doesn’t even take hours to edit. A travel shot can take on a cozier, warmer feel, or a city scene can take on a more muted, cooler one.
Explore filters online to discover different ways to style your pictures. Note that a dramatic, bold effect will only work with certain styles, such as fine art and abstract shots. In other instances, you will want to keep the effect relatively subtle, so that the filter does not overpower your subject.
Try applying a similar treatment to several images from the same shoot. It will help you shape a cohesive visual story without sacrificing the individual character of every image.
2. Balance of Light for Dimension
Lighting is one of the crucial aspects of photography, so if you want to know how to enhance images, relighting tools are among the first to master. These typically include adjustment sliders for exposure, contrast, highlights, and shadows.
Find where the lighting adjustments are located in your photo-editing software and test them. In Luminar on Web, you can find them in the dedicated Light tool on the Edit panel (the tools we will discuss in later sections are also located there). Upload your image into the software and test what the tool can do.
If you have taken a landscape photo on a bright afternoon, lowering the highlights can bring back detail in the sky, while lifting the shadows can reveal more texture in darker areas. If the image looks a little flat, a modest contrast adjustment can make its tones more distinct.
Proper lighting adjustments can also help separate the subject from the background and give the scene a stronger sense of dimension. In Luminar on Web, it works especially well when you apply selective tweaks with the Light Depth tool. This AI-powered tool analyzes the scene’s depth and lets you adjust lighting according to how close or far objects appear. Experiment with its controls to adjust illumination across different parts of the image, then review the result to ensure the transition between areas looks natural.
3. Curves for Shaping the Look
Tips for editing photos recommend paying special attention to the relationship between the darkest and the lightest areas in the picture. If an image looks a little flat even after adjusting exposure and contrast, you will need more precise control over the tonal range. The Curves tool can be particularly helpful for it.
The tool displays a diagonal line: the lower part controls darker tones, while the upper part affects brighter areas. The user changes the picture’s tonal range by adding the control points to the line and modifying its shape.
The S-curve is the most common because it deepens shadows, brightens highlights, and emphasizes contrast. To create it, move a point in the lower section slightly downward and another in the upper section slightly upward. This trick will particularly benefit architectural photos and cityscapes. The striking contrast between the buildings and the sky will make these pictures catchier and more evocative.
4. Sky Replacement for Impactful Outdoor Shots
Photo-editing tips insist that if the sky looks pale or lacks detail, the atmospheric landscape or outdoor portrait will look flat and unappealing. The sky is the compositional element you cannot control or adjust during the shoot, but many photo editors, including Luminar on Web, have dedicated automatic sky replacement tools for impactful and balanced outdoor images.
In Luminar on Web, open your photo in the Edit workspace and select Sky AI from the editing panel. Browse the available sky options and choose one that suits the scene. Then use the tool’s adjustment controls to refine the result so the new sky blends naturally with the landscape. Pay attention to the lighting and colors: a dramatic sunset may look out of place in a photo where the foreground is lit by bright midday sun.
Conclusion
Every shot you take holds creative potential waiting to be unlocked. With intuitive AI tools and professional-grade precision, turning everyday photos into breathtaking masterpieces has never been easier. Start experimenting with Luminar on Web today and take your visual storytelling to the next level.