
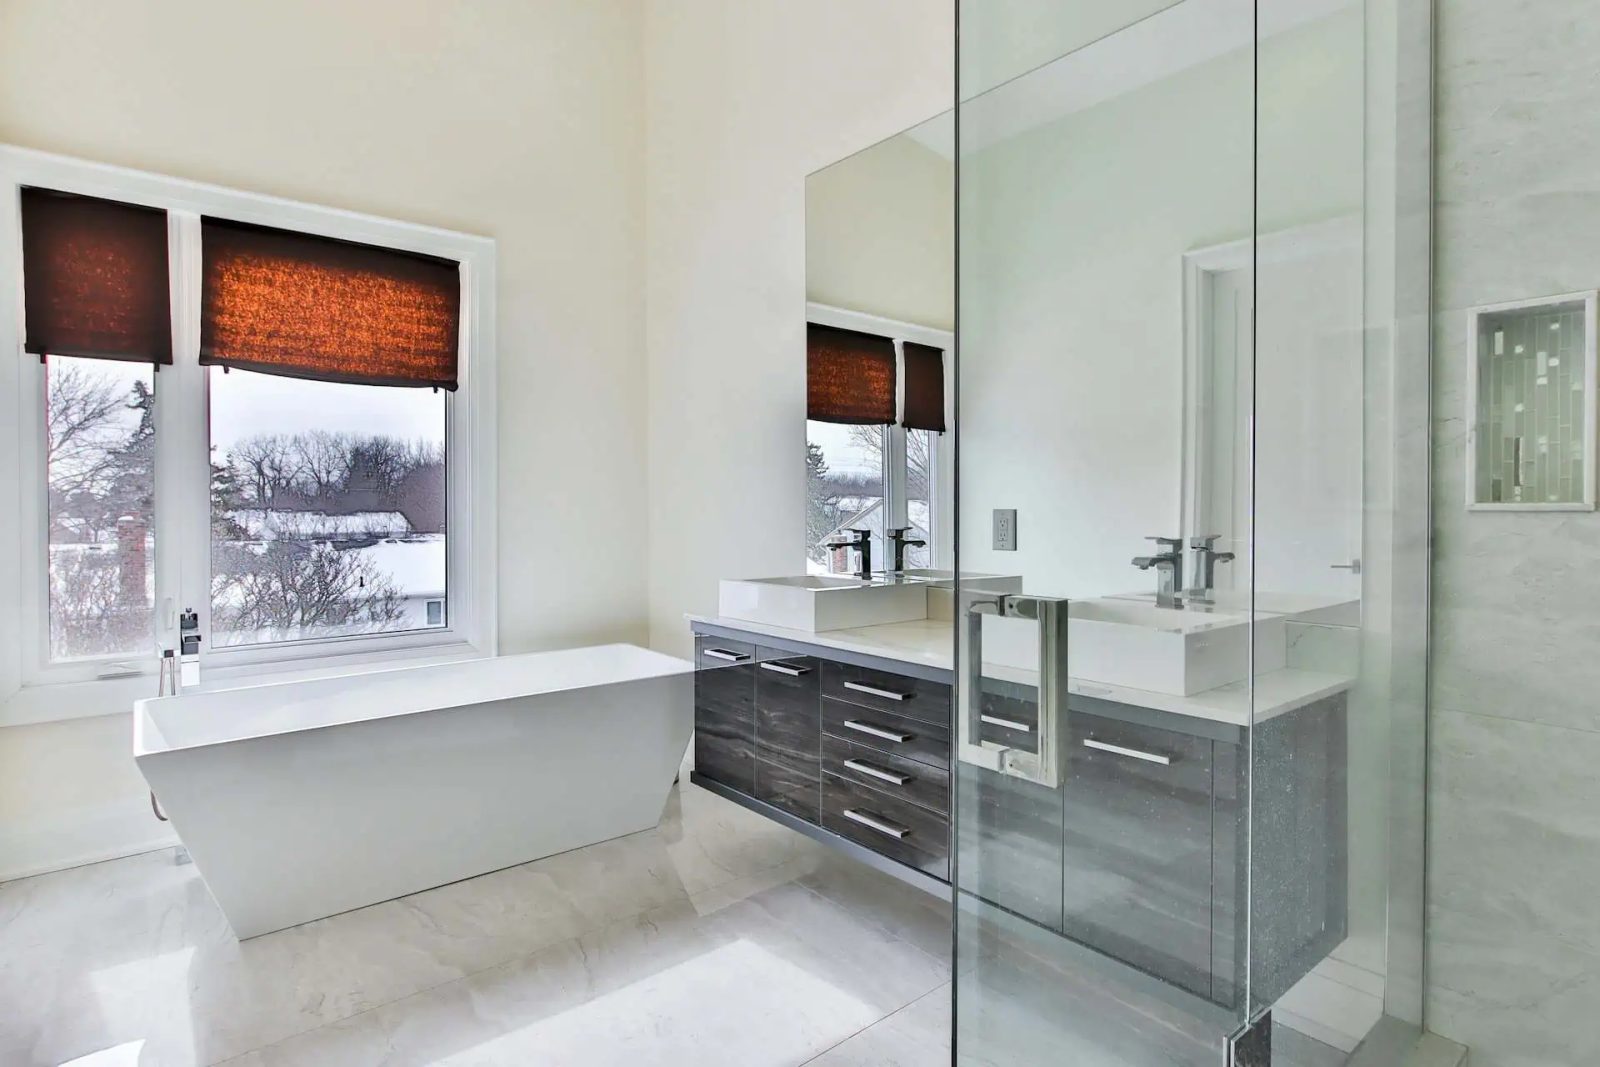
Bathrooms work hard year-round, but in colder climates they have even more to prove. Winter brings dry indoor air outside the shower and warm, moisture-laden air inside it, an invitation for condensation, drafts, and wear on finishes. Thoughtful planning makes the difference between a space that looks good on day one and one that stays comfortable, healthy, and durable for years. From ventilation and heating to material selection and layout, here are practical ways to design a bathroom that holds up beautifully when temperatures drop.
1. Moisture, Ventilation, and Mold Prevention
Moisture control starts with a properly sized exhaust fan and a clear, insulated vent path to the outdoors. Fans are rated by the amount of air they move; choose one that matches your room’s size and typical use, and run it during showers and for a period afterward to pull out humid air. Ducts should be short, sealed, and vented outside rather than into an attic to avoid hidden condensation. If your home is especially tight, consider a fan with a humidity sensor to automate the process.
Homeowners considering residential bathroom remodeling in Duluth also benefit from the right air and water barriers behind the walls. Cement backer board and waterproofing membranes in shower areas help stop moisture from migrating into framing. Use mildew-resistant primers and paints on walls and ceilings. Thoughtful details prevent water from hanging around: slope shower benches and niches slightly so water runs off, use a continuous silicone bead at tub-to-tile joints, and choose a shower door sweep that actually keeps spray inside.
2. Heating and Comfort in Winter
Few upgrades are as appreciated on frigid mornings as warm feet. Electric radiant floor heating can be placed under tile and controlled with a programmable thermostat, delivering gentle, even warmth. In very cold rooms or spaces with exterior walls, a combination of floor heat and a dedicated bathroom heater adds comfort redundancy without blasting the whole house. Heated towel bars and warm-light fixtures can also make the room feel cozier without a major energy draw.
Insulation is another comfort lever. Where plumbing runs through exterior walls, dense insulation and air sealing help protect pipes and reduce drafts. If possible, keep supply lines on interior walls and avoid placing a shower directly against an exposed wall. Weatherstripping around windows, insulated bath fans with backdraft dampers, and high-quality exterior caulking round out the effort to keep cold air out and conditioned air in.
3. Material Choices That Stand Up to Temperature Swings
Surfaces in a cold-climate bathroom see rapid changes in temperature and humidity. Porcelain tile is a reliable workhorse: it’s dense, less porous than many stones, and resists staining and cracking. For grout, look for products designed to resist water absorption and staining; darker tones hide inevitable wear, while properly sealed lighter grout stays brighter. Large-format tiles can reduce grout lines, but ensure the floor structure is flat and stiff enough to prevent lippage and cracking.
Natural stone is beautiful but needs the right care. Seal it as recommended by the manufacturer, and choose textured finishes for better traction when floors are wet. For vanities, engineered quartz provides consistent performance and easy maintenance, while solid-surface tops offer integrated sinks that simplify cleaning. On shower floors, small mosaic tiles give more grout lines for traction. If you prefer a curbless shower, pair it with a well-executed waterproofing system and a linear drain to handle heavy spray without splashing into the main bath.
4. Layout, Storage, and Everyday Function
Cold-weather bathrooms benefit from smart circulation and strategic placement. Keep heat sources unobstructed, avoid placing a vanity where it blocks airflow, and confirm doors swing without hitting fixtures. A wider entry and a slightly larger turning radius near the shower can make winter layers and bulky towels less of a juggling act. If you’re choosing between a tub and a larger shower, consider how often you actually soak versus how often you need an easy-to-clean, quick-warm space.
Storage choices directly affect clutter and moisture. Closed cabinetry protects paper goods and linens from steamy air, while well-placed niches and shelves keep shower essentials off the floor and out of puddles. Elevated vanities or wall-hung options make radiant floors more effective by exposing more heated surface. For lighting, use layers: bright task lighting at the mirror for grooming, warm ambient lighting for comfort, and wet-rated fixtures in the shower to reduce shadows. Good lighting shortens the time the mirror stays steamy and helps the room dry faster after use.
5. Timeline, Permits, and Working With Pros
Bathroom remodels involve a tight sequence of trades: demolition, rough plumbing and electrical, inspections, waterproofing, tile, fixtures, and trim. In colder months, plan for a little extra buffer around steps that require ventilation or cure time, such as painting and some thinset or grout products. Ordering long-lead items like specialty tile, custom glass, or vanities early helps keep the project on track. A simple spreadsheet or calendar with target dates and delivery windows can prevent schedule surprises.
Before work begins, clarify scope, materials, and responsibilities in writing. Ask how your contractor handles dust control, daily cleanup, and temporary facilities if the bathroom will be offline. Confirm which permits are required and who will coordinate inspections. If you are updating the layout or moving fixtures, request a quick review of structural and plumbing implications so small choices, like shifting a drain, don’t turn into major delays. Finally, build in a contingency for unexpected findings behind walls; older bathrooms often hide dated wiring, tired plumbing, or insufficient insulation that are wise to correct while the space is open.
A cold-climate bathroom can be comfortable, efficient, and low-maintenance with the right plan. Focus on moisture control, reliable heat, durable finishes, and a layout that fits your routine. Don’t rush the prep work; good ventilation paths, insulation details, and thoughtful storage pay off for years. With clear decisions and a realistic timeline, you can create a space that feels warm on the frostiest mornings, dries out quickly after every shower, and looks as good on day 1,000 as it did on day one.