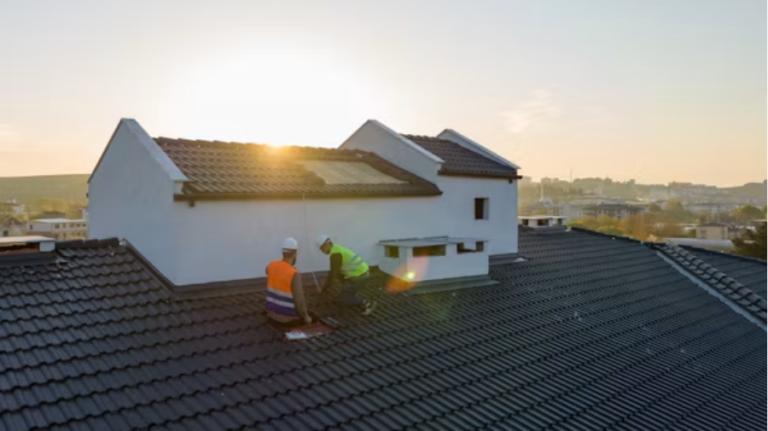

Replacing or repairing a roof is one of the biggest home projects most homeowners tackle, and understanding the process reduces stress and helps you make confident decisions. From recognizing early warning signs to preparing your home and confirming the final quality, knowing what comes next keeps your project on schedule and on budget. This guide walks through the timeline, how crews work, what you can do to minimize disruption, and the checks that signal a job done right, so you can protect your home with fewer surprises along the way.
Know When Your Roof Needs Attention
Most roofs don’t fail overnight. They give small signals first: curled or missing shingles, shingle granules collecting in gutters, dark streaks or algae growth, rust on flashing, and water stains in the attic after rain. If your roof is nearing the end of its expected service life, or you see daylight through the roof boards in the attic, it’s time to get a professional assessment. Small leaks can quickly lead to insulation damage, mold, or compromised sheathing if left unchecked. When repairs begin to stack up or damage is widespread, a full replacement often becomes more cost-effective over time.
When you’re ready for an expert opinion, working with a roofing company for residential projects can help you compare materials, understand local code requirements, and build a clear scope of work. Clarifying whether you need spot repairs, a partial replacement, or a complete tear-off sets realistic expectations and informs an accurate estimate.
Pre-Project Planning: Estimates, Scope, and Permits
A solid plan starts with a detailed written estimate. It should outline the roofing material and underlayment type, ventilation strategy, flashing details, ice and water barrier locations (especially in colder climates), disposal plan for old materials, start date window, approximate duration, and payment schedule. Ask how the crew will protect landscaping, siding, and windows, and where the dumpster will sit. If your home has existing ventilation issues, confirm how the new system will balance intake and exhaust to reduce heat buildup and moisture in the attic.
Permits and inspections often apply to roofing projects, and timelines vary by municipality. Confirm who secures the permit and schedules any required inspections. If you live in a community with an HOA, verify any material or color restrictions early to avoid delays. While your contractor should handle code compliance, you’ll want to keep copies of permits and approvals with your home records.
How the Roofing Timeline Typically Unfolds
Weather is the biggest variable in roofing. Once the forecast looks favorable, crews typically complete a standard single-family roof in one to three days, depending on size, complexity, number of roof planes, and any wood repairs. The day-by-day flow often looks like this: materials delivery and staging; tear-off and deck inspection; repairs to sheathing as needed; installation of ice and water shield, underlayment, and drip edge; shingle or other material installation; flashing around penetrations and walls; ridge vent and cap installation; and cleanup with magnet sweep for nails.
Expect noise and vibration during tear-off and nailing. Interior items on shelves or walls can shake—take down delicate decor ahead of time. Crews may start early to maximize daylight, and multiple crew members will be on site. If your roof has skylights, chimneys, or complex valleys, ask how those details will be handled and sealed. Good crews photograph deck conditions and critical transitions during the build to document hidden work.
Minimizing Disruption to Your Household
A few small steps go a long way. Clear your driveway so crews can place a dumpster and move materials efficiently. Cover items in the attic to protect from dust that may fall through small gaps during tear-off. Move patio furniture, grills, and planters away from the home’s perimeter. Keep pets and children indoors or away from work zones—roofing involves ladders, power tools, and falling debris. If you work from home, plan for a noisier environment or a quiet off-site day during tear-off and nailing. Ask the crew leader to identify safe entry/exit points during the project window.
Protecting landscaping is a team effort. Crews commonly use tarps to shield plantings and collect debris; you can also pre-water plants to reduce stress and point out delicate shrubs. Ask where ladders and staging will go, and whether plywood will be used to protect grass under equipment or dumpsters. Good site logistics reduce the risk of property damage and speed up cleanup.
Material Choices That Influence Performance
Asphalt shingles remain the most common choice for homes because they balance cost, durability, and style variety. Architectural shingles offer better wind resistance and depth than basic three-tab options. Metal roofing can deliver excellent longevity and sheds snow well, but it typically costs more upfront and may require specialized trim details. In certain climates, synthetic shakes or tiles provide high impact resistance and a distinctive look, while real slate or clay tile add weight and require additional structural considerations. Whatever you choose, pair the surface material with quality underlayment, proper flashing, and balanced ventilation—these layers are essential to long-term performance.
Color and reflectivity also matter. Darker roofs absorb more heat, which may increase attic temperatures in warm regions. Lighter or “cool” shingles reflect more sunlight and can help reduce heat gain. In wildfire-prone areas, confirm the fire rating. If hail is common, ask about impact-rated shingles and how that may affect insurance premiums. Match your selection to your climate, house style, and maintenance tolerance.
Quality Checks Before You Sign Off
Before final payment, walk the property with the crew leader. Look for clean, straight shingle lines; properly seated nails; intact and well-sealed flashing at chimneys, sidewalls, and vent stacks; and a neat ridge cap. In the attic, check for daylight at penetrations (you shouldn’t see any) and verify that insulation hasn’t been compressed or displaced. Confirm intake and exhaust vents are clear and balanced. Around the yard, the cleanup should include magnet sweeping and removal of all debris and packaging. If rotten wood was replaced, request photos or documentation noting the area.
Ask for the final packet: material information, care guidance, and warranty documents. Many manufacturer warranties require registration within a set period, and some performance warranties depend on the exact combination of components used. Keep digital and paper copies with your home records. Finally, note the date of installation and schedule a quick roof check after the first significant storm to make sure everything is performing as expected.
With a clear scope, realistic timeline, and a focus on details like ventilation and flashing, a residential roofing project can be straightforward and durable. Prepare your home, understand how the work will unfold, and use a simple punch list at the end. Those steps help you get a roof that protects your family and your investment for years—without unnecessary stress or surprises.